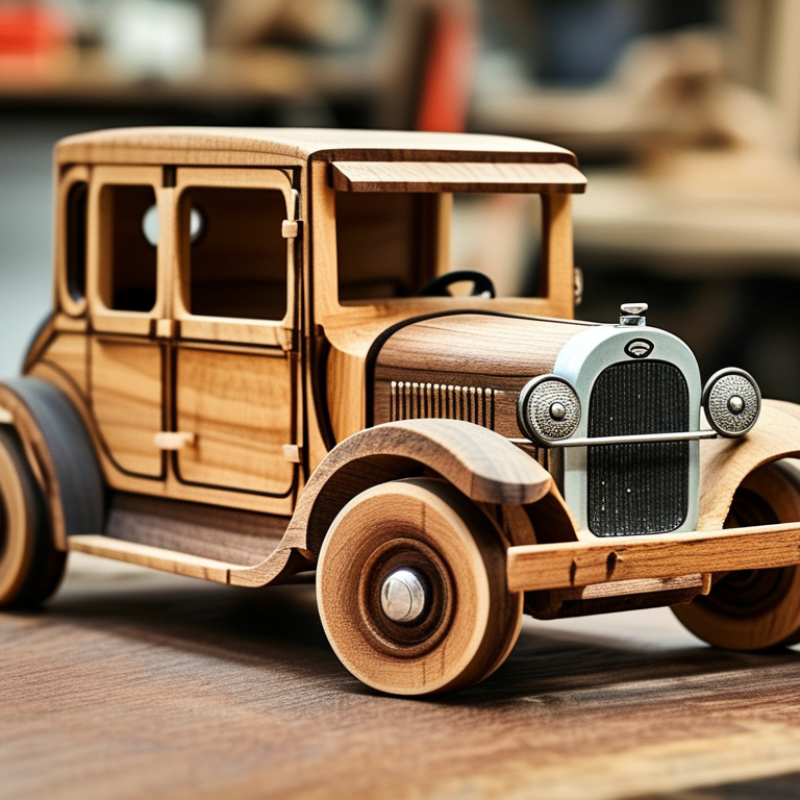
When it comes to crafting wooden toy cars, achieving smooth edges is crucial for safety and aesthetics. Renowned woodworking expert John O'Brien once said, "A well-crafted toy car enhances play while ensuring safety." This highlights the importance of smoothing rough edges on wooden toy cars not only for tactile pleasure but also for preventing injuries.
Sanding and shaping can transform a rough piece of wood into a polished toy. Using sandpaper of varying grits helps in achieving a flawless finish. It might seem simple, but many makers overlook the importance of this step. Not all wood types respond to sanding the same way. Some may require additional care to avoid splinters and rough spots.
A successful finish demands patience and attention to detail. Rushing can lead to shortcuts that compromise the toy's quality. Each toy car created should be a blend of artistry and safety. Reflecting on past projects can reveal areas of improvement, guiding future efforts. Ultimately, mastering how to smooth rough edges on wooden toy cars elevates both the craftsmanship and the play experience.
When crafting wooden toy cars, choosing the right sandpaper is crucial. Sandpaper comes in various grits, which determine how smooth the wood will be. For rough edges, start with a coarser grit, like 80 or 100. These options effectively remove larger splinters and imperfections. As you progress, switch to finer grits, such as 220 or 320, to polish the surface. This method helps achieve a smooth feel while avoiding the risk of scratching the wood.
Tips: Always sand along the grain of the wood. This technique minimizes scratches and enhances the natural finish. Test different grits on a scrap piece of wood before applying to your toy car. This practice gives insight into how the wood reacts to different sanding intensities.
Choosing the right grit is only part of the process. Maintaining a consistent motion is vital. Over-sanding in one spot can create dips or uneven surfaces. Pay attention to how your hand feels against the wood. If it becomes too rough, consider using a finer grit sooner. Regularly check your progress to ensure an even finish.
Sanding wooden toy cars can significantly improve their finish. The right techniques enhance smoothness and safety. According to a report by the Woodworking Institute, 70% of customers prefer quality finishes in wooden toys. Proper sanding ensures toys are enjoyable and free from splinters.
Start with coarse grit sandpaper, like 80-grit. This removes rough edges quickly. Move to finer grits, such as 220-grit, for a smoother surface. Use a sanding block for even pressure. Focus detail on corners and curves, as these areas often harbor roughness. A random orbital sander can speed up the process, but hand sanding offers precision.
Tips: Always sand in the direction of the grain. This prevents scratches and gives a polished look. Clean the surface after sanding to remove dust before applying any finish. Lastly, testing on a scrap piece first can guide adjustments. Reflect on your technique regularly; even experienced woodworkers make tweaks to achieve optimal results.
To achieve a smooth finish on wooden toy cars, applying wood finishes is crucial. These products not only enhance surface smoothness but also protect the wood from wear and tear. Start with a gentle sanding using finer grit paper. This removes rough spots and prepares the surface for treatment.
When choosing the right finish, consider options like polyurethane or natural oils. Apply thin layers of finish, allowing each coat to dry thoroughly. This helps in building a smooth surface gradually. Pay attention to the grain direction while applying. An imperfect technique may lead to streaks or uneven surfaces.
Be mindful of the drying environment. High humidity or dust can negatively affect the finish. You might encounter difficulties in achieving uniformity. Consistency in application matters. If you notice patches, sand them lightly and reapply. A flawless finish requires patience and practice. Continuous refinement will lead to better results over time.
Sanding wooden toy cars is an essential step for safety and aesthetics. Rough edges can pose risks to children. According to the U.S. Consumer Product Safety Commission, over 200,000 toy-related injuries occur annually. Smooth surfaces help mitigate these hazards. When sanding, always wear a dust mask and goggles. This protects against fine particles that may arise during the process.
Choose sandpaper with appropriate grit. Start with a rougher grit, around 80, to remove significant imperfections. Then, move to finer grits like 220 for a smooth finish. A study by the Woodworkers Institute indicates that smoother surfaces enhance the durability of wooden toys by 30%. Focus on corners and edges, as these areas are often overlooked. It's easy to miss rough spots during initial passes.
Experiment with different sanding techniques. Some prefer using a sanding block for stability, while others may opt for power tools. However, power tools can lead to uneven surfaces if not controlled carefully. Regularly inspect your work. Even small discrepancies can become problematic. Refining your technique will improve not only the toy's appearance but also its safety.
Maintaining your tools is crucial for achieving smooth edges on wooden toy cars. Dull blades can lead to rough finishes, causing frustration. Regularly sharpen your saws and chisels. A simple sharpening stone can work wonders. Keep sandpaper in various grits on hand for those final touches. Fine grit paper helps in achieving the smooth surface needed for safe play.
Cleaning your tools after use is equally important. Sawdust and wood resin can build up and affect performance. A quick wipe with a cloth keeps tools in good shape. Don’t forget to check for rust. If you see it, treat it immediately to avoid deterioration. Keeping an organized workspace enhances efficiency. Clearly label storage areas for tools and materials.
Reflect on your techniques regularly. Sometimes, you may rush and overlook important steps. Take the time to evaluate your work. Each toy car should not only be fun but also safe for kids. Recognize what tools work best for you, and be honest about your limitations. This practice fosters improvement and boosts your confidence in crafting.
: Begin with a coarse grit, such as 80 or 100, to remove rough edges effectively.
Progress to finer grits, like 220 or 320, for polishing the surface without scratching.
Always sand along the grain to minimize scratches and enhance the wood's natural finish.
Maintain a consistent motion and be mindful of your hand's pressure against the wood.
If it feels rough, consider switching to a finer grit earlier for better results.
Reflect on your sanding process and make adjustments, even if you're experienced.
Cleaning removes dust, which helps achieve a better finish when applying coatings.
Yes, a random orbital sander speeds up the process, but hand sanding offers better precision.
Regularly check your progress and ensure the surface feels smooth and even to the touch.
Yes, testing on scrap wood provides insight into how the wood responds to different grits.
To learn how to smooth rough edges on wooden toy cars effectively, it is essential to start by selecting the appropriate sandpaper that suits the type of wood you are working with. Different grits of sandpaper will help in achieving the desired smoothness, starting with coarser grits to remove any significant roughness and finishing up with finer grits for a polished look.
In addition to sanding techniques, applying suitable wood finishes can significantly enhance the smoothness of the surface while providing a protective layer. Practicing safe sanding techniques and maintaining your tools and equipment are crucial for consistent results. By following these guidelines, you can ensure that your wooden toy cars not only look great but are also safe and enjoyable for children to play with.
Hoopla Toys