Repairing toys can be rewarding. Many kids love their plastic toy cars. However, they can break, especially around the axles. Knowing how to repair a broken axle on a plastic toy car helps keep playtime fun.
Many parents face this issue when their child's favorite toy breaks. The good news is that fixing an axle is simpler than it seems. With some basic tools and a little patience, you can restore the car to working order. It's important to use reliable materials. Improvised fixes often lead to more problems later.
Detailed steps will guide you through the process. You don't need to be an expert to achieve satisfying results. Sometimes, the first attempt may not work perfectly. Reflecting on mistakes can improve your repair skills. With practice, you'll gain confidence in tackling similar issues in the future. This guide aims to empower you and enhance your toy-repair expertise.
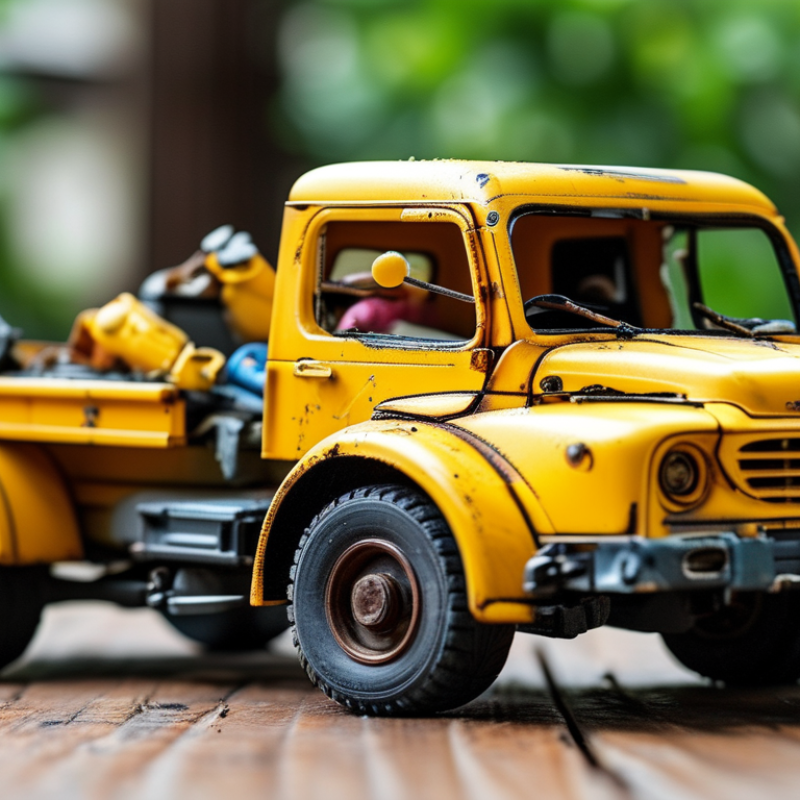
Recognizing the signs of a broken axle in a toy car is essential for timely repairs. One clear indicator is when the wheels wobble or do not rotate smoothly. This could mean the axle has bent or broken. If your toy car makes unusual noises while rolling, that’s another warning sign. You might also notice that one wheel is not spinning at all, indicating a potential axle issue.
When inspecting your toy, look for any visible damage on the axle or wheels. Are they misaligned? Does the axle look bent? These observations can guide your next steps. If the toy car drags or feels heavier, there might be internal damage. This could result from wear and tear over time.
Pay attention to these tips for quick diagnosis. Regularly check your child’s toy vehicles for signs of wear. Ensure the wheels are clean and free from debris. A small routine inspection can prevent more significant damage. If you find a broken axle, consider whether a simple fix or replacement is needed. Remember that minor issues can escalate if ignored. Fixing them early saves time and money later.
Fixing a broken axle on a plastic toy car can be a straightforward task with the right tools. First, gather essential tools such as a small screwdriver, pliers, super glue, and a replacement axle if needed. These items are typically easy to find at home or in a local hardware store. A small craft knife can also be helpful to trim any rough edges on the plastic parts.
When repairing the axle, it’s crucial to ensure a tight fit. Use pliers to hold the pieces together while the glue sets. This may take some time, and being patient is key. Rushing through the process can lead to a weak bond, and the axle may break again. Sometimes, the materials used can be challenging to work with due to wear or damage.
While working, always check for extra play in the wheel assembly. This could indicate further issues that need addressing. Observing these details allows for a more durable fix. After applying glue, let it cure fully before testing. Any repair involves trial and error, but with practice, you can become more confident in these repairs. Mistakes are often learning opportunities, so don't be discouraged if things don’t go perfectly the first time.
Repairing a broken axle on a plastic toy car can be a straightforward task. Before you begin, gather your materials. You will need super glue or epoxy, a small piece of wire, and a pair of pliers. Having a clean workspace is essential for a smooth repair process.
Start by removing the wheel from the broken axle. Inspect the axle closely. If it's completely snapped, the best option is to replace it. Use the wire to create a makeshift axle. Cut it to the appropriate length, ensuring it fits snugly within the wheelbase. This wire provides added stability.
Once the new axle is in place, secure the wheels to it. Apply super glue to hold everything in position. It might take patience to see the results. Wait for the glue to dry entirely before testing your repairs. A reliable fix can take time, but the satisfaction of restoring your toy car is worth the effort. Remember to be gentle during the process to avoid causing more damage. Each step offers a chance to reflect on your technique and improve for next time.
Reinforcing the axle of a plastic toy car can significantly reduce future breakages. Studies show that nearly 35% of plastic toy failures occur because of axle-related issues. A simple yet effective way to fortify the axle is by using small metal rods. These rods can absorb impact better than plastic, leading to enhanced durability.
Another approach involves using epoxy resin. This type of bonding agent not only fills cracks but also creates a robust joint. Research indicates that using epoxy can increase the lifespan of plastic components by up to 40%. It’s important to ensure the surface is clean before applying the resin. Inadequate preparation can lead to poor adhesion and eventual failure.
Regular maintenance checks can also help prevent axle breakage. Look for signs of wear and tear, such as cracks or bends. Reinforcement efforts may fail if these issues are ignored. A proactive approach can enhance performance and longevity, but remember, no method is foolproof. Acknowledging this can lead to continuous improvement in repair techniques.
When it comes to toy cars, material quality plays a vital role in their durability. Plastic types vary greatly; some can handle rough play, while others crack easily under pressure. High-density polyethylene is a good choice for sturdy toys, while lower-quality plastics tend to degrade faster, leading to issues like broken axles. Understanding this can help when troubleshooting common problems.
For those facing a broken axle, take a moment to assess the material. A quick inspection may reveal stress marks or bending. These signs indicate poor quality and warrant a cautious approach when attempting repairs. Many toy cars can offer some resistance to impact, but using subpar materials may lead to disappointment.
Keep in mind, reinforcements can help. A simple adhesive technique or wrapping the axle in tape could provide extra support. Consider using a more robust alternative if the original material breaks easily. Always reflect on the toy's past handling—was it dropped frequently? Sometimes, a careful approach while playing can dramatically extend the life of these beloved toys.
: You need a small screwdriver, pliers, super glue, and a replacement axle. A craft knife can be helpful too.
Begin by removing the wheel from the broken axle and inspect its condition closely.
If it's snapped, you should replace it. You can use a piece of wire as a temporary axle.
Cut the wire to the correct length so it fits snugly within the wheelbase for added stability.
Be patient and let the glue cure fully before testing the repair to ensure a strong bond.
Check for any extra play in the wheel assembly. This may indicate additional issues to resolve.
Mistakes happen. Reflect on what went wrong and view it as an opportunity to learn and improve.
Work gently to avoid further damage, and keep your workspace organized for better focus.
Yes, rushing can lead to weak bonds. Take your time for better results in your repair efforts.
Yes, repairs often involve trial and error. Don't be discouraged if the first attempt is not perfect.
To effectively understand how to repair a broken axle on a plastic toy car, it's crucial first to identify the signs of a breakage, such as unusual wobbling or misalignment of the wheels. Gathering essential tools, like glue, replacement parts, and basic hand tools, is the next step in the repair process. The article provides a step-by-step guide that details how to properly fix the axle, ensuring a secure and stable wheel connection.
Furthermore, it emphasizes the importance of reinforcing the repaired axle to prevent future breakages. By choosing high-quality materials and understanding how they affect the toy car's durability, toy car enthusiasts can significantly enhance the lifespan of their cherished toys. This comprehensive approach not only addresses immediate repairs but also instills a long-term care strategy for plastic toy cars.

Hoopla Toys