Cleaning a diecast model is not simply a matter of removing dust. It is a small preservation task. A glossy red hood, chrome grille, and tiny decals can deteriorate quickly when exposed to harsh cleaners, excessive water, or rough cloths. Collectors often learn this after one careless wipe. That lesson can be expensive.
For anyone researching how to clean diecast toy cars without damaging paint, the safest approach begins with identification. Check whether the model has original paint, printed graphics, stickers, exposed metal, or previous touch-up work. Each surface may react differently. Mike Zarnock, a longtime diecast collector and author, offers a useful rule: “Treat every model as if its paint is already fragile.” His advice reflects practical collecting experience, especially with older Hot Wheels and other valuable models.
A soft detailing brush can lift loose dust from wheel wells and door gaps. A barely damp microfiber cloth may remove light fingerprints from painted panels. Use cool water and minimal pressure. Avoid abrasive sponges, household solvents, and soaking the entire car. Moisture can enter axles, interiors, or small openings. That damage may appear days later.
Work under bright, indirect light. It reveals grime without heating the finish. Test any cleaning solution on an unseen underside first. Even then, caution is not perfection. A faint mark can remain, particularly on aged paint. That possibility deserves honesty. Preserving the original finish matters more than making the car look unnaturally new. With patience, controlled moisture, and careful observation, cleaning becomes safer and more reliable.
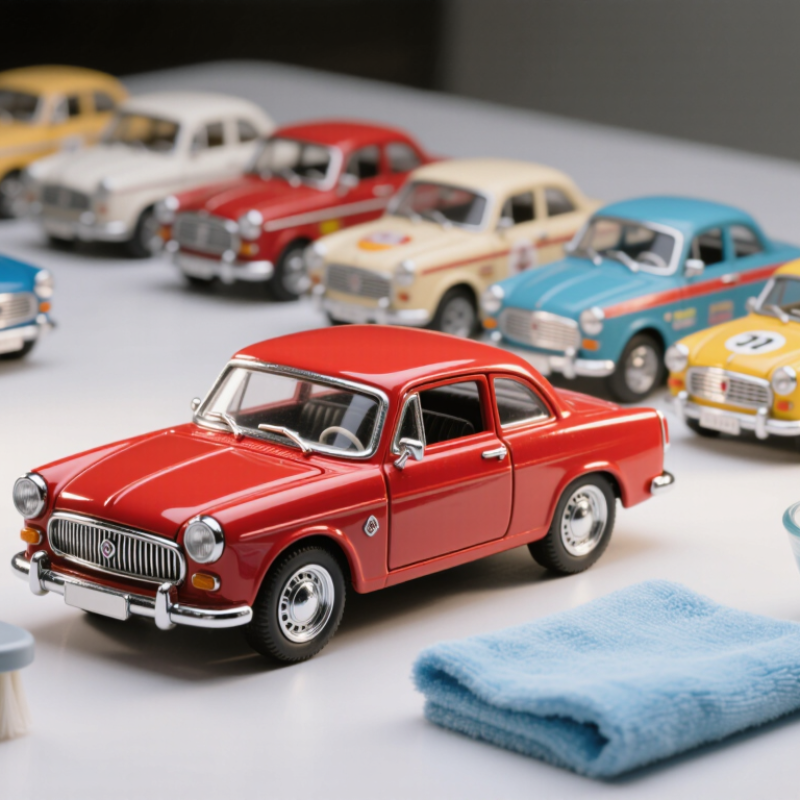
Before cleaning a diecast toy car, inspect every surface under bright, indirect light. I once treated a printed decal like painted metal and lifted its edge. That mistake was avoidable. Factory paint usually feels smooth and firmly bonded, while decals may show a slight border or different gloss. Clear coats can also hide delicate graphics. Photograph the car first, especially if it has chipped corners or loose parts.
Bare metal needs a different approach. It may show a dull gray tone, fine machining marks, or tiny scratches. Plated parts often appear brighter and more mirror-like, but their thin finish can wear quickly. Do not assume every shiny area is metal. A soft cotton swab with minimal moisture can reveal how grime reacts, but stop immediately if color transfers.
Tips: Test an unseen area first. Use lukewarm water and mild soap. Avoid soaking decals, hinges, and openings. Clean with a soft brush, then blot dry. Never scrape hardened dirt with a fingernail or tool. I prefer several gentle passes, although patience is easy to lose. If the surface still looks uncertain, leave it untouched until its material is identified.
Choose a cleaner around pH 6–8. Strongly acidic or alkaline products may dull gloss or soften printed details. Thin coatings need gentle handling.
Apply a small amount beneath the chassis with a cotton swab. Wait several minutes, then inspect it under a bright lamp. Check for tackiness, cloudiness, swelling, or color transfer. Waiting overnight is safer.
No. Put diluted cleaner on a cotton swab or damp microfiber cloth. Direct application can send liquid into axles, seams, and metal joints.
Use lukewarm water below 40°C. Hot water may soften decals or weaken older finishes. Use a small stream, not forceful spray.
Start with a soft, clean brush. Remove loose grit before wiping. Around wheel arches, use short strokes and rinse the cloth often.
Avoid them. They may dull clear coats, remove graphics, or soften painted areas. Rough tissues can also drag grit across a door panel.
Blot it with a clean microfiber cloth. Leave it in a shaded, ventilated place until fully dry. Avoid hair dryers, radiators, and strong heat.
Stop wiping immediately. Let the model dry naturally. Do not add more cleaner. A slightly dirty car is safer than a damaged finish.
No. Fragrance, alcohol, solvents, and strong surfactants may still harm old paint. I once trusted a “gentle” cleaner and found a cloudy film afterward.
Note the cleaner, dilution, waiting time, room temperature, and surface condition. Small details matter. My earlier tests missed delayed damage, so I now inspect the area again later.
Learning how to clean diecast toy cars without damaging paint begins with identifying the surfaces involved. Examine the model carefully to distinguish painted areas, printed decals, exposed metal, and plated or highly polished parts, since each may react differently to moisture and cleaning products. Before applying any cleaner, remove loose dust with a soft, dry tool to reduce the risk of rubbing particles across the surface and creating fine scratches.
Use a mild, pH-neutral cleaner within the common range of 6–8, and test it first on a hidden area. Compatibility can be evaluated using the basic principles of ISO 2409 adhesion testing: check whether gentle wiping causes lifting, flaking, or separation of the finish. Clean with minimal pressure, rinse with water below 40°C, and dry promptly with a soft, lint-free cloth. Avoid heat, strong solvents, and prolonged soaking, as these can weaken paint, decals, adhesives, or plated details.

 Hoopla Toys